DIY Woven Headboard
/
Finding affordable and stylish furniture for a kids rooms is always a struggle. Often you sacrifice style if you are sticking to a budget or you have to get a second mortgage to get the look you want.
As the parent of two boys under 5 sharing a room, I knew that spending an arm and a leg for something that would eventually be covered in boogers and used as a backboard for basketballs was not in the cards when we upgraded them to big kid beds.
However, I wasn’t content to get a basic frame that didn’t add anything to the aesthetic of their room. Plus, a large portion of the beds that you can get for a low budget have spots where kids could easily get stuck or fall out. With that in mind I decided to try a DIY Woven Headboard on an affordable bed frame.
I am not one to jump on the opportunity to use power tools, so I knew that I didn’t want to try my hand at constructing a full headboard from scratch. If that is what you’re looking for, check out this diy headboard tutorial.
I knew that I wanted to do a hack, so I headed to Pinterest and did the only logical thing - search ‘IKEA Headboard Hack’. I kept stumbling upon a lot of texture, which I loved. I also loved that adding texture and a neutral-ish pop of color to the room would allow for their style to evolve without me having to update their headboards for quite some time.
In the end, I bought the IKEA Tarva bed frame for just under $100. When looking for a frame for this hack, grab one that has a rectangular border.
How do you make a woven headboard?
The supplies needed for this diy headboard are limited and things you likely already have around your garage.
Supplies:
Scissors
staple gun
staples
canvas webbing
To keep this project budget friendly, I opted for canvas strips vs. leather or another material. This is the exact canvas that I purchased in hunter green. Some other cool options for materials include leather or rope like this Better Homes and Garden example.
Instructions
Measure twice, purchase webbing once. Once you’ve chosen your headboard and material, you will have to do some math to make sure that you purchase enough product.
Measure the length and height of the bed frame. Here is a visual of what I’ll be using as an example.

Measuring horizontal strips
Once you’ve chosen your webbing, note the width of the strips. Measure how many strips will fit in the height of the entire frame. Divide the height of the frame by the width of the webbing strips. For example, if the height of the part of the frame that you will be covering is 48” and you webbing is 12” wide, you can fit 4 strips on that frame.
You will have to add some length to each strip to wrap it around the back of the frame. I would suggest adding 4”. So for this example, let’s say that the true width of the headboard is 64”. Add 4” and consider the width to be 68”.
Then multipy the number of strips by the length of the frame that includes the extra inches (68” in this example). We calculated in the last step that we need 4 strips. If the length of the frame is 68”, you would multiply 68 by 4 to determine that you will need 272 inches of webbing for horizontal strips.
Measuring vertical strips
Since this is a woven headboard, you will also need to account for the vertical pieces of webbing. This is a bit more up to your discretion. Say you want to have vertical strips 5.
Take the number of vertical strips that you want and multiple it by the width of the frame + 4 inches (to account for wrapping the strips around the back again). In this example the width is 48” so you would multiply 52 by 5 to get 260 inches.
Now you know that you need 272” across and 260” vertically of your webbing, you just add to determine that you need 532” total of webbing. Most webbing is sold in yards so now just convert your inches to yards and you know how much product to buy.
Start construction by securing the vertical strips. Attach the top of one strip to the back of the top of the headboard using your staple gun.
PRO TIP: Use two staples each time you staple to secure it tightly.
Pull that strip VERY tightly and wrap it around the bottom of the headboard. Secure with two staples. Pull it so taut that you break a light sweat. Then trim the excess with scissors.
Continue down the entire headbaord. Space them based on the final look that you want. My turned out to be about 2 inches apart.

Next you will secure the horizontal strips. STOP AND READ THIS NEXT PART TWICE.
Weave the horizontal strips without connecting the ends. Alternative going over and under the vertical strips that you just secured. Once the horizonal strip is woven through the vertical strips, use your staple gun to secure the end where you just trimmed your last strip first.
Then secure the end with the rest of the roll of webbing. Pull taut and trim.
On the next horizontal row, start the opposite of the strip above. For example, if you started your first horizontal row by going over the vertical strip first, start the second horizontal row by going under the vertical strips.

There is a lot of wiggle room on this DIY woven headboard project. Try to keep distances between strips consistent, but if they end up off or crooked, you can literally wiggle them into place. Plus, a little DIY charm never hurt anyone.
So how much did it cost? This is the best part - this project was $180 including the purchase of the bedframe. The only thing that I had to purchase aside from that was the canvas webbing. If you have to purchase a staple gun, they really are quite affordable.
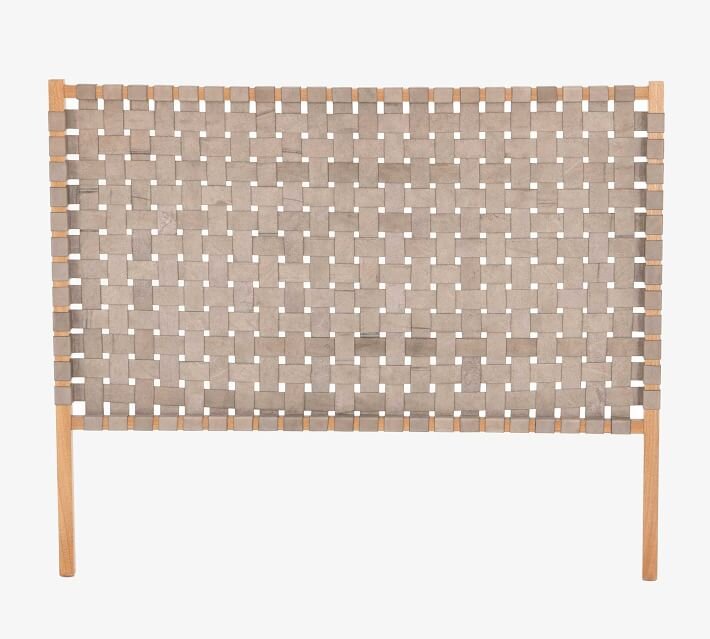
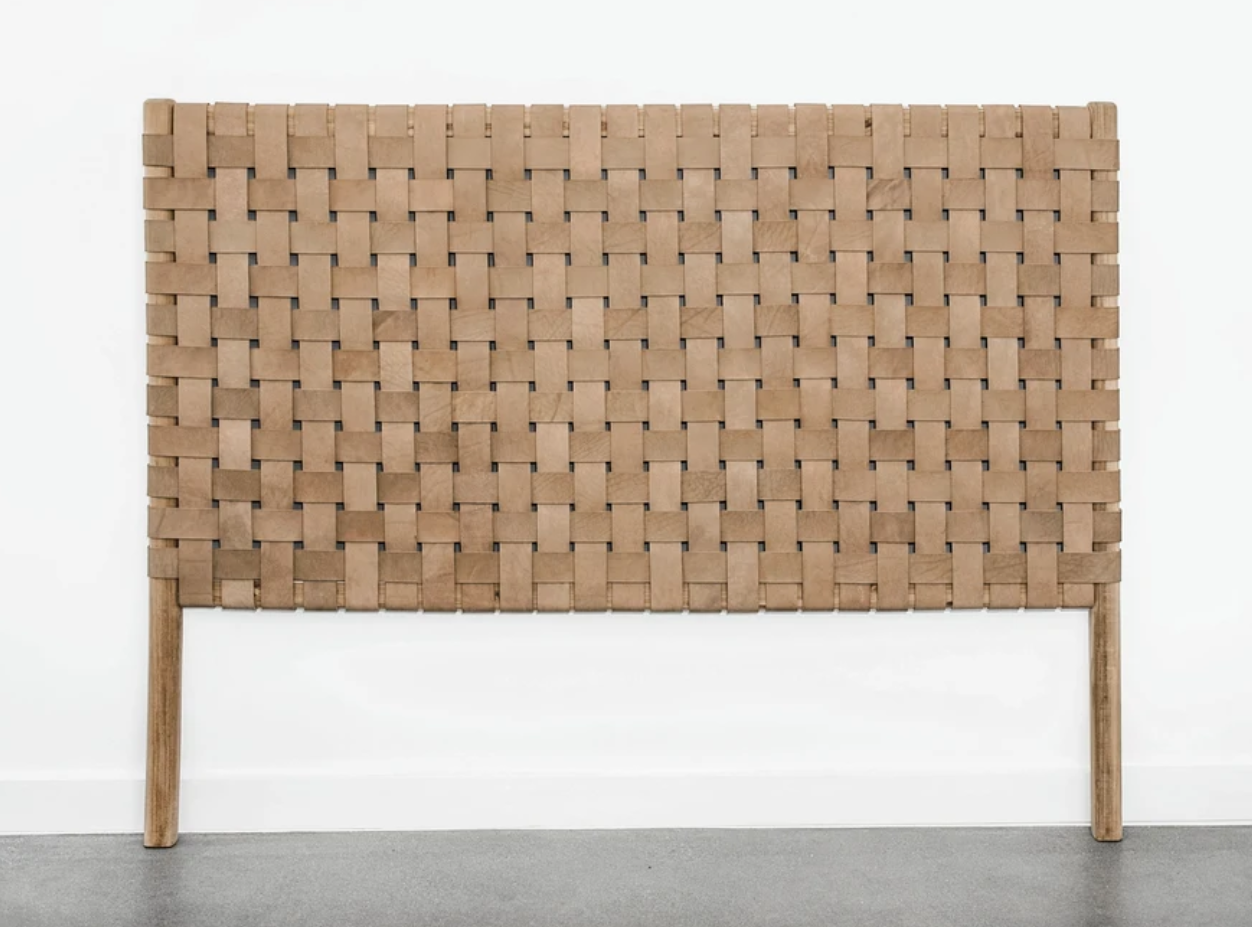
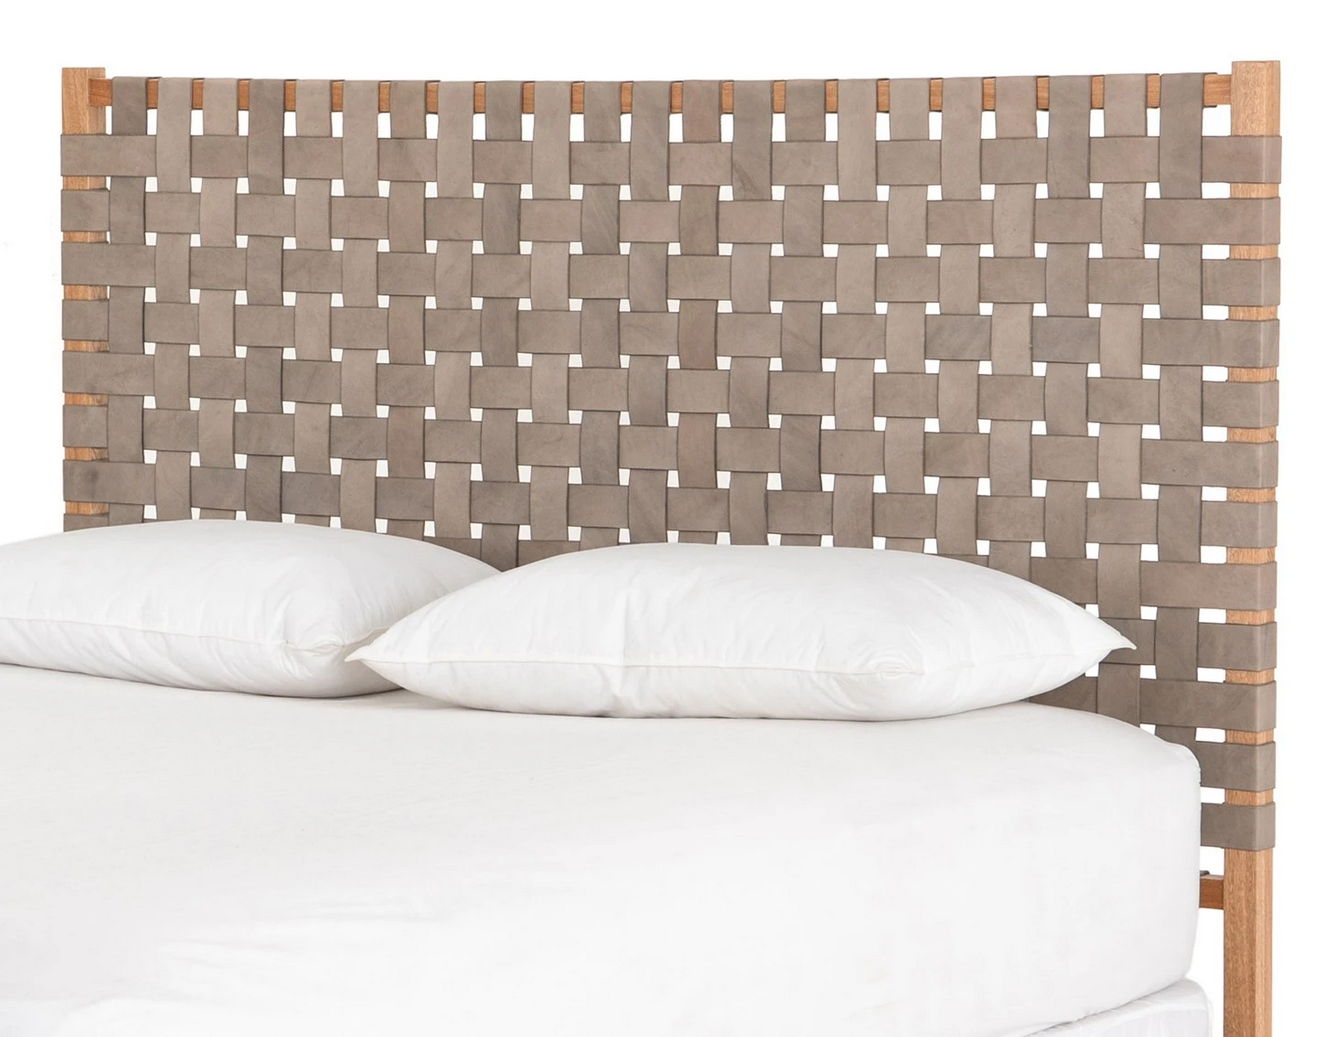
If DIY isn’t your jam, here are some woven headboards for sale. But I warn you, they aren’t cheap.